Setup
I read a blog Run OpenClaw Securely in Docker Sandboxes that demostrated how to use Docker Sandboxes (which is an experimental feature) to run OpenClaw with restricted security settings.
Docker Sandboxes lets you run AI coding agents in isolated environments on your machine. Sandboxes provides a secure way to give agents autonomy without compromising your system.
Here is the note about how I setup the local OpenClaw with Ollama as the model service.
As the post mentioned, you first need to install the Docker Desktop (4.58+). And Ollama as well.
Suppose you’ve already had them installed and runing on your Mac.
I’m using a MacBook Pro with M2 chip and 24G RAM. Ollama with qwen3.5:9b model.
Create a sandbox
Let’s create a Shell sandbox cause we need to install OpenClaw on our own.
sandbox-001 % docker sandbox create --name pocketclaw shell .
✓ Created sandbox pocketclaw in VM pocketclaw
  Workspace: /Users/shiny/devworks/ohllama/sandbox-001
  Agent: shell

To connect to this sandbox, run:
  docker sandbox run pocketclaw
Then you need to update the network proxy to allow localhost from your Mac.
sandbox-001 % docker sandbox network proxy pocketclaw --allow-host localhost
Let’s run the sandbox now.
sandbox-001 % docker sandbox run pocketclaw
Starting shell agent in sandbox 'pocketclaw'...
Workspace: /Users/shiny/devworks/ohllama/sandbox-001
Install Node 22 as OpenClaw required.
agent@pocketclaw:sandbox-001$ npm install -g n && n 22

changed 1 package in 995ms
  installing : node-v22.22.1
       mkdir : /usr/local/n/versions/node/22.22.1
mkdir: Permission denied

  Error: sudo required (or change ownership, or define N_PREFIX)
Oh no.
Don’t worry, ChatGPT can solve this, it works:
agent@pocketclaw:sandbox-001$ export N_PREFIX=$HOME/.n
agent@pocketclaw:sandbox-001$ mkdir -p $N_PREFIX
agent@pocketclaw:sandbox-001$ export PATH=$N_PREFIX/bin:$PATH
agent@pocketclaw:sandbox-001$ npm install -g n && n 22

changed 1 package in 51ms
  installing : node-v22.22.1
       mkdir : /home/agent/.n/n/versions/node/22.22.1
       fetch : https://nodejs.org/dist/v22.22.1/node-v22.22.1-linux-arm64.tar.gz
     copying : node/22.22.1
   installed : v22.22.1 (with npm 10.9.4)

Note: the node command changed location and the old location may be remembered in your current shell.
         old : /usr/bin/node
         new : /home/agent/.n/bin/node
If "node --version" shows the old version then start a new shell, or reset the location hash with:
hash -r  (for bash, zsh, ash, dash, and ksh)
rehash   (for csh and tcsh)
Then refresh the shell:
agent@pocketclaw:sandbox-001$ hash -r
Refresh node
What about re-enter the sandbox? You’ll lost the env. Here is my fix, you don’t need to re-install node:
From Mac:
sandbox-001 % docker sandbox exec -it pocketclaw bash
Inside the sandbox:
agent@pocketclaw:sandbox-001$ export PATH=$HOME/.n/bin:$PATH
Then you’ll get the node v22:
agent@pocketclaw:workspace$ node -v
v22.22.1
Install OpenClaw
Now you can install OpenClaw:
agent@pocketclaw:sandbox-001$ npm install -g openclaw@latest
Then init the setup.
agent@pocketclaw:sandbox-001$ openclaw setup
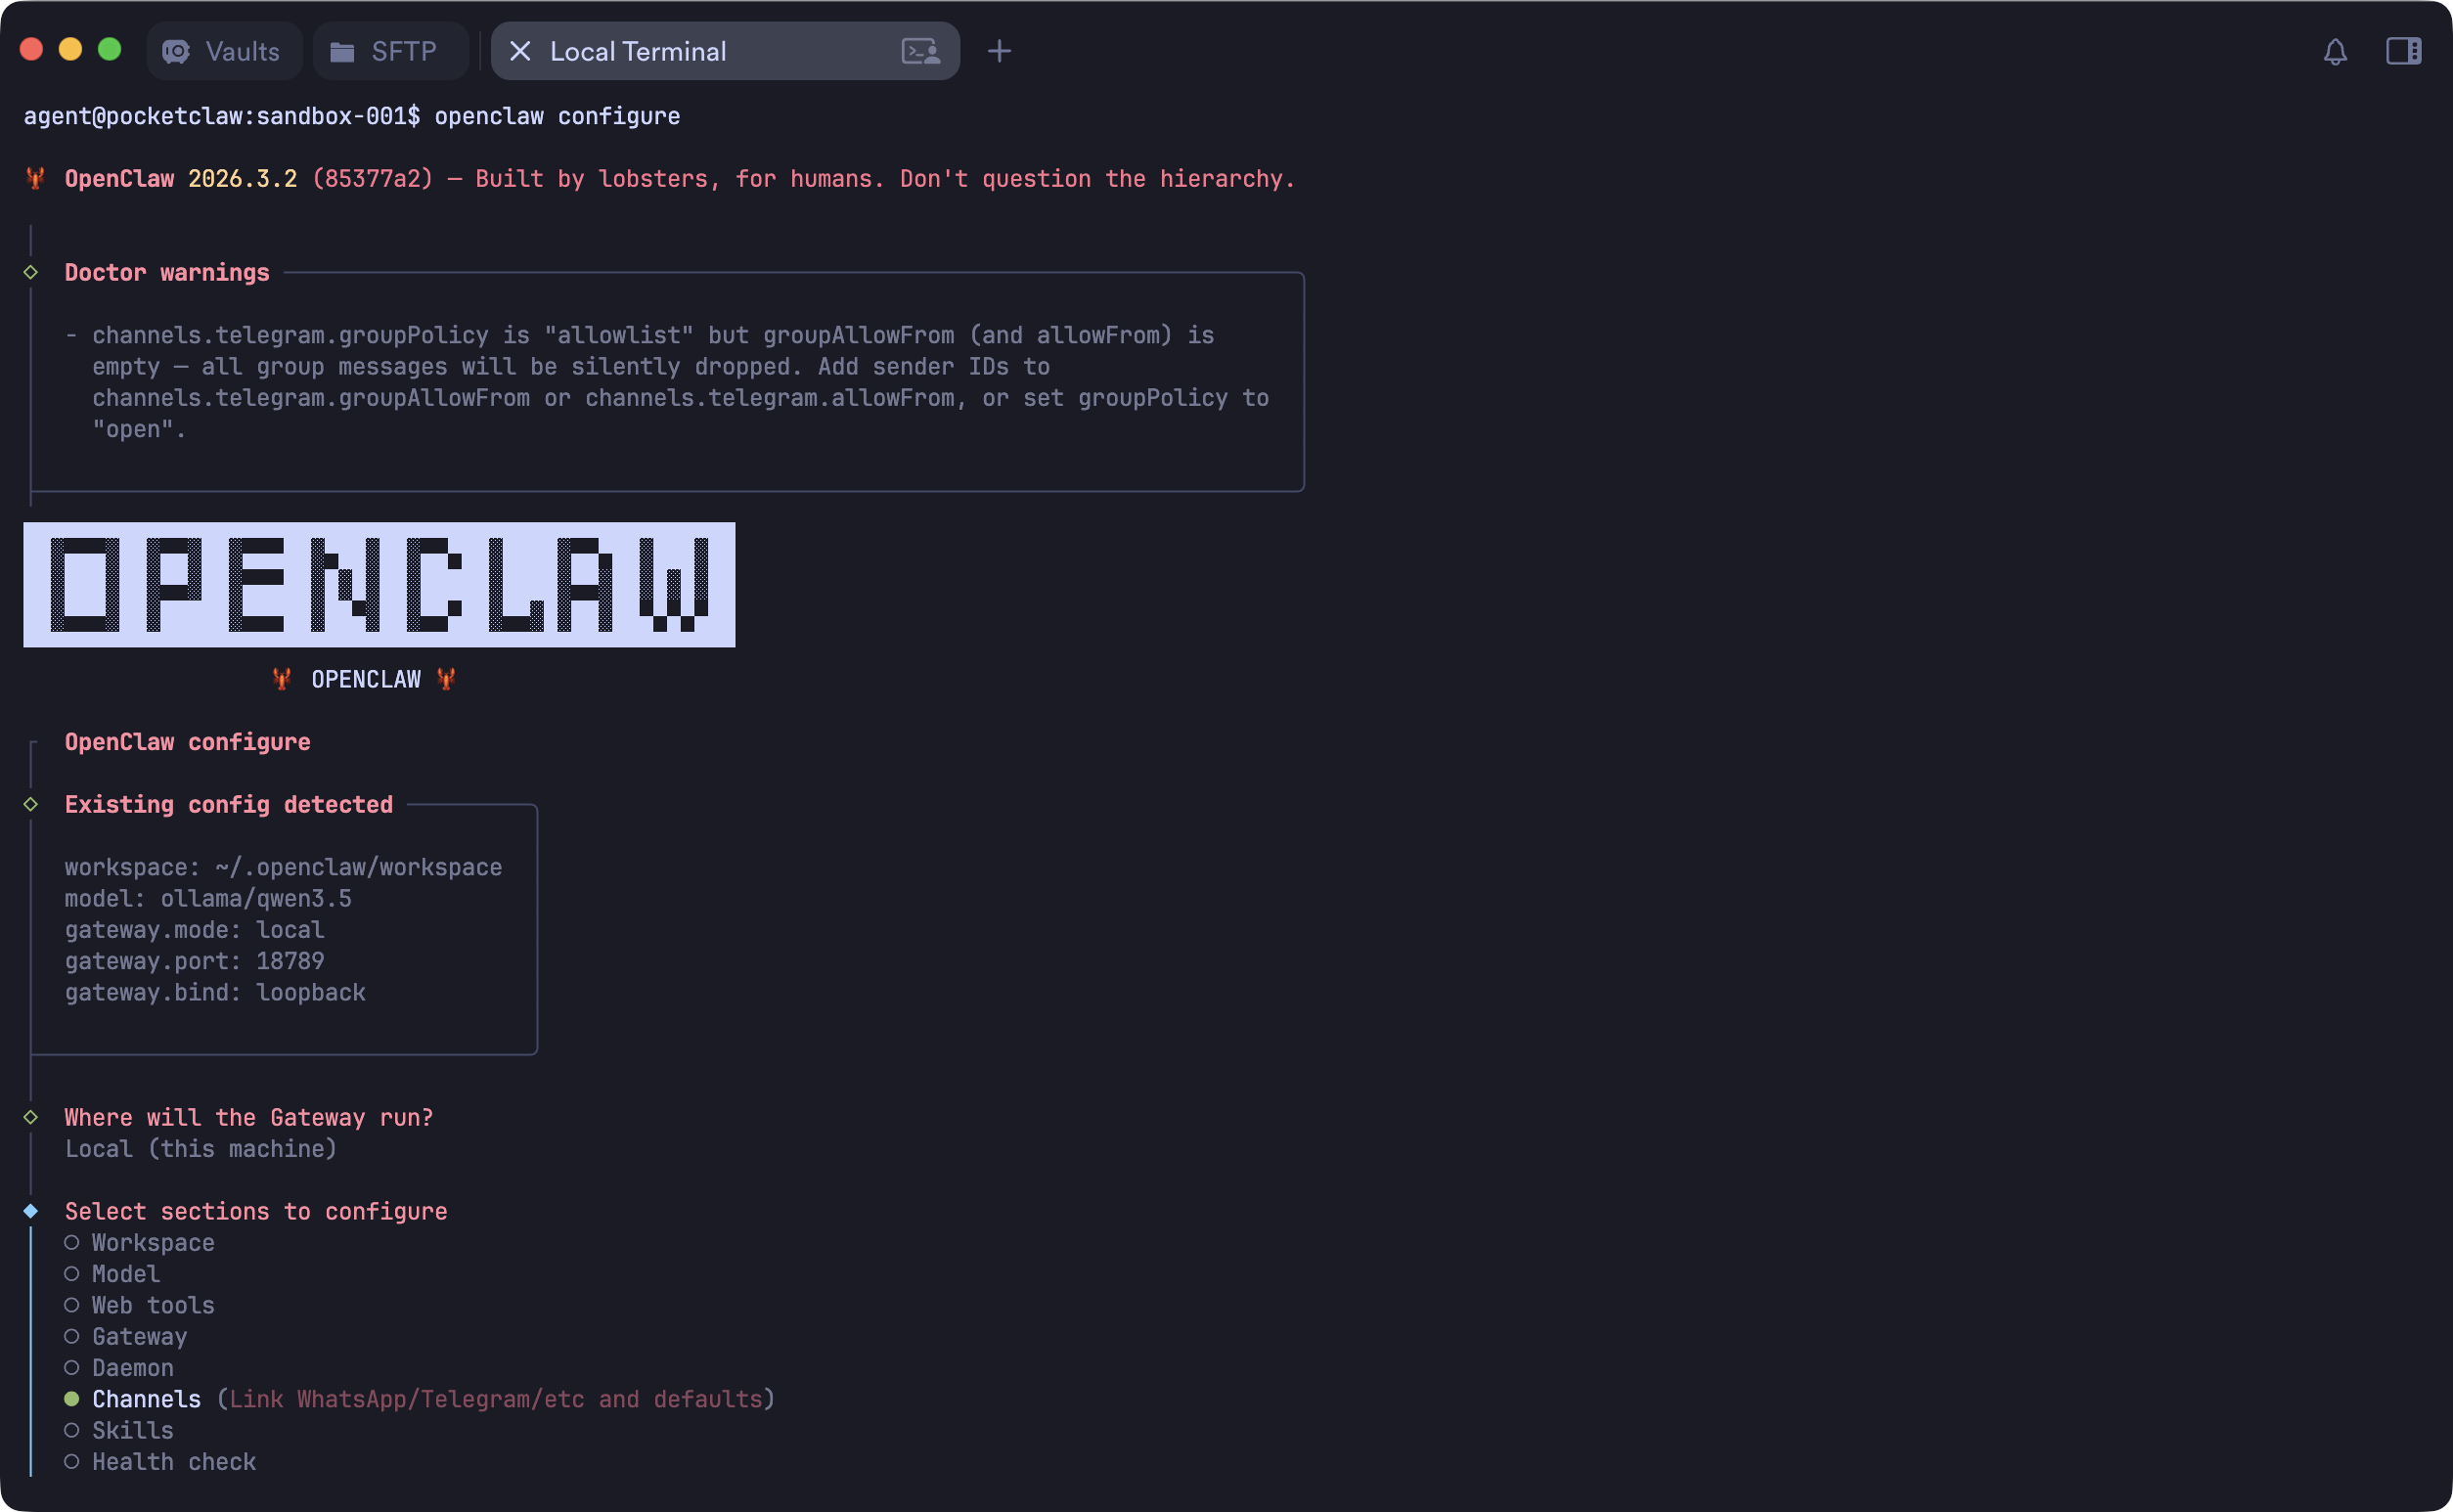
Next you’d run openclaw configure to update the settings.
Wait! You need this proxy server first
Here is the bridge proxy server:
File: bridge.js:
const http = require("http");
const { URL } = require("url");

const PROXY = new URL(process.env.HTTP_PROXY || "http://host.docker.internal:3128");
const TARGET = "localhost:11434";

http
  .createServer((req, res) => {
    const proxyReq = http.request(
      {
        hostname: PROXY.hostname,
        port: PROXY.port,
        path: "http://" + TARGET + req.url,
        method: req.method,
        headers: { ...req.headers, host: TARGET },
      },
      (proxyRes) => {
        res.writeHead(proxyRes.statusCode, proxyRes.headers);
        proxyRes.pipe(res);
        console.log(`[${new Date().toISOString()}] ${req.method} ${req.headers.host} ${req.url} -> ${proxyRes.statusCode}`);
      },
    );
    proxyReq.on("error", (e) => {
      res.writeHead(502);
      res.end(e.message);
    });
    req.pipe(proxyReq);
  })
  .listen(54321, "127.0.0.1");
console.log("Proxy server is running on http://127.0.0.1:54321");
Then you can run it with nohup:
nohup node bridge.js &
Configure your OpenClaw
Let’s configure the channels you need.
Then you need to edit the openclaw.json to configure the model.
"models": {
    "mode": "merge",
    "providers": {
      "ollama": {
        "baseUrl": "http://127.0.0.1:54321/v1/",
        "apiKey": "empty",
        "api": "openai-completions",
        "models": [
          {
            "id": "ollama/qwen3.5",
            "name": "ollama/qwen3.5",
            "reasoning": false,
            "input": [
              "text"
            ],
            "cost": {
              "input": 0,
              "output": 0,
              "cacheRead": 0,
              "cacheWrite": 0
            },
            "contextWindow": 256000,
            "maxTokens": 204800
          }
        ]
      }
    }
  },
  "agents": {
    "defaults": {
      "model": {
        "primary": "ollama/qwen3.5"
      },
      "models": {
        "ollama/qwen3.5": {}
      },
      "workspace": "/home/agent/.openclaw/workspace"
    }
  },
Note:
- The
baseUrlis your bridge proxy server URL:http://127.0.0.1:54321/v1/ - Set the correct model id e.g.
ollama/qwen3.5
I was copying the file from sandbox folder back to the workspace. Cause there is no nano or vi inside the sandbox.
Run the gateway
There is either no systemd inside the sandbox. You need to run the gateway in the front:
agent@pocketclaw:sandbox-001$ openclaw gateway --port 18789

🦞 OpenClaw 2026.3.2 (85377a2) — The lobster in your shell. 🦞

│
◇  Doctor warnings ──────────────────────────────────────────────────────────────────────────╮
│                                                                                            │
│  - channels.telegram.groupPolicy is "allowlist" but groupAllowFrom (and allowFrom) is      │
│    empty — all group messages will be silently dropped. Add sender IDs to                  │
│    channels.telegram.groupAllowFrom or channels.telegram.allowFrom, or set groupPolicy to  │
│    "open".                                                                                 │
│                                                                                            │
├────────────────────────────────────────────────────────────────────────────────────────────╯
22:44:46 [canvas] host mounted at http://127.0.0.1:18789/__openclaw__/canvas/ (root /home/agent/.openclaw/canvas)
22:44:46 [heartbeat] started
22:44:46 [health-monitor] started (interval: 300s, startup-grace: 60s, channel-connect-grace: 120s)
22:44:46 [gateway] agent model: ollama/qwen3.5
22:44:46 [gateway] listening on ws://127.0.0.1:18789, ws://[::1]:18789 (PID 5058)
22:44:46 [gateway] log file: /tmp/openclaw/openclaw-2026-03-07.log
22:44:46 [browser/server] Browser control listening on http://127.0.0.1:18791/ (auth=token)
...
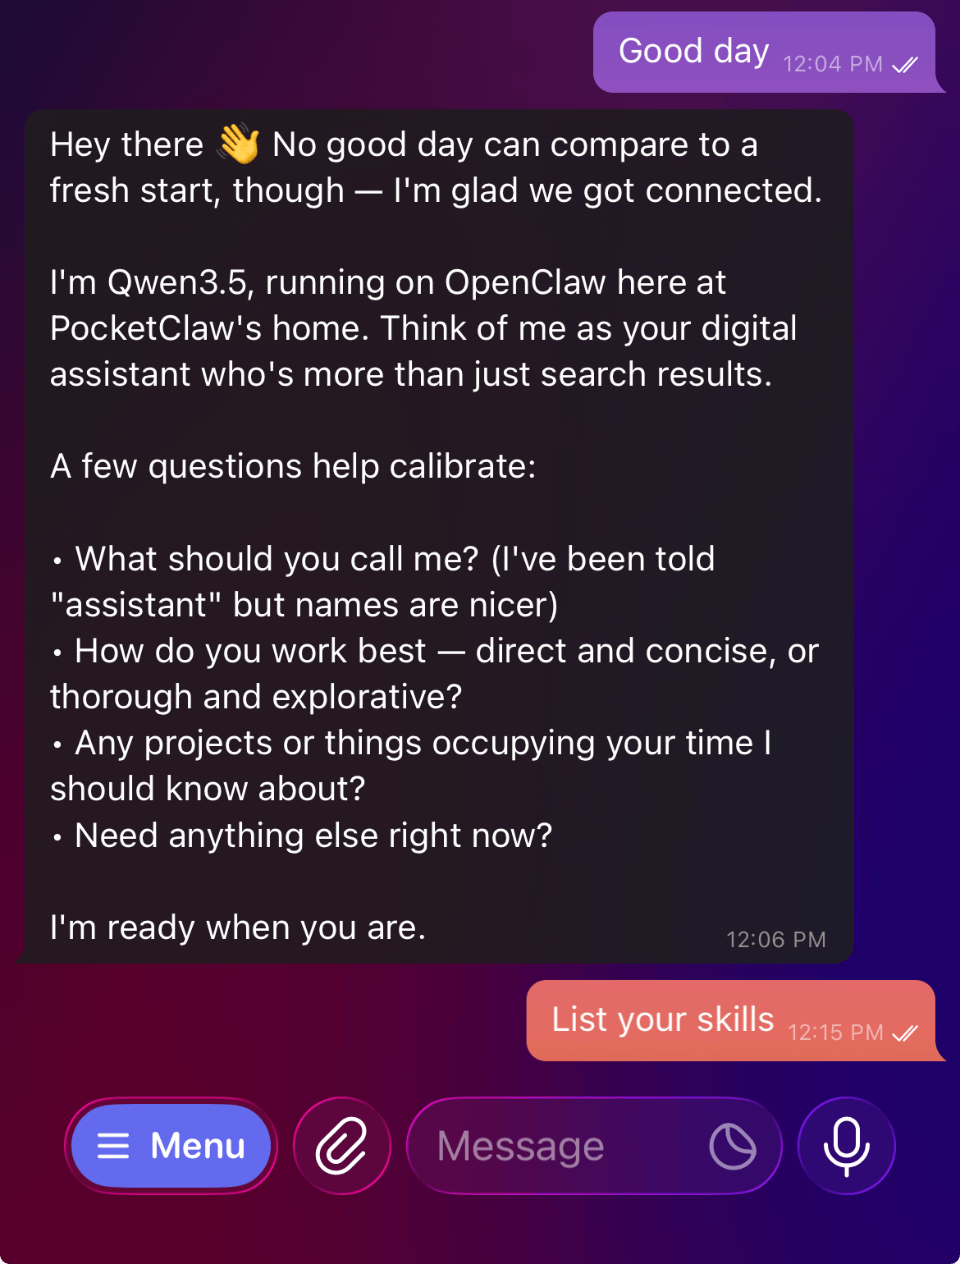
Now you can chat with OpenClaw.
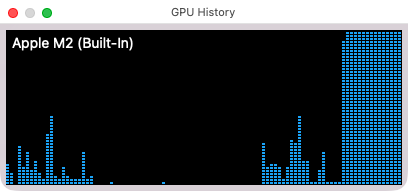
You can also see the M2 GPU is burning.
Upcoming actions
I’ll try to save the sandbox and share. But for now you get a local first OpenClaw deployment with local Ollama service.
Enjoy it and let me know if you have any comments.
Last modified on March 8, 2026